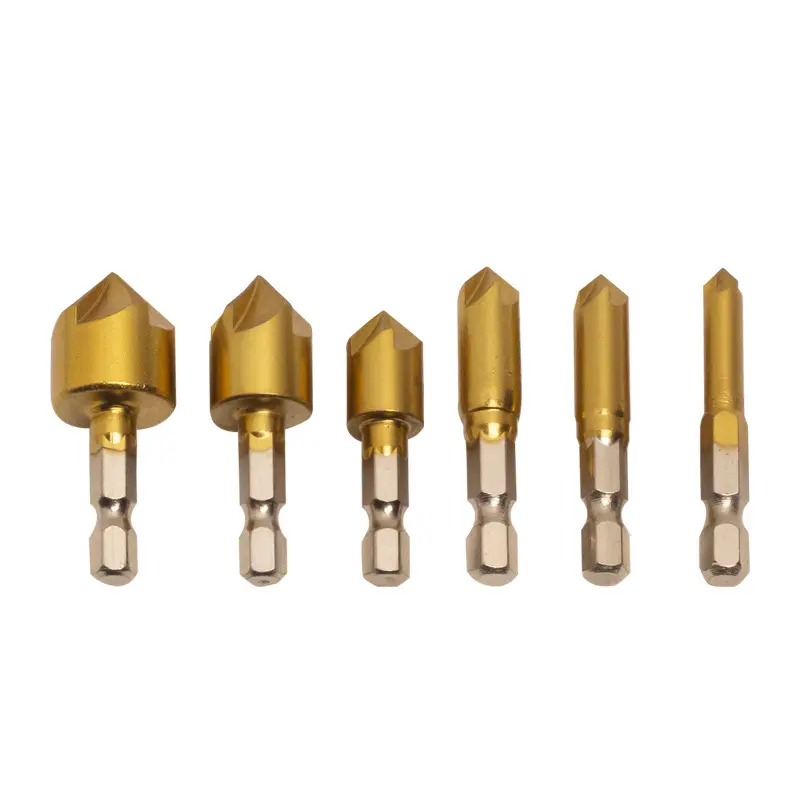
In the world of DIY projects, woodworking, and professional construction, achieving a perfect finish often hinges on small but critical details. One such detail is the use of countersink drill bits. These specialized tools are designed to create a conical hole that allows screws or bolts to sit flush with the surface of the material, providing both aesthetic appeal and structural integrity.
What Is a Countersink Drill Bit?
A countersink drill bit is used to create a conical hole that matches the angle of the screw head, allowing it to sit perfectly flush with the workpiece’s surface. This not only enhances the appearance of your project but also prevents the screw head from protruding, which could otherwise catch or cause injury. Countersink bits come in various sizes and angles (typically 82 degrees for wood and 90 degrees for metal), ensuring compatibility with different screw types and materials.
Why Use a Countersink Drill Bit?
Aesthetic Appeal
Using a countersink drill bit ensures that screw heads do not disrupt the smoothness of the finished product. Whether you’re working on fine furniture or installing kitchen cabinets, this tool helps achieve a clean, professional look.
Structural Integrity
By allowing screws to sit flush with the surface, countersink bits help distribute the load more evenly across the joint. This reduces the risk of the screw loosening over time due to movement or vibrations.
Versatility
Countersink bits can be used on a variety of materials including wood, plastic, and soft metals. Some models even combine drilling and countersinking into one step, saving time and effort.
How to Use a Countersink Drill Bit
- Select the Right Size: Choose a countersink bit that corresponds to the size of the screw head you plan to use.
- Adjust Depth: Set the depth stop on your drill to ensure consistent results. For best results, practice on scrap material first.
- Apply Steady Pressure: Hold the drill steady and apply even pressure as you drive the bit into the material. Avoid tilting the drill to prevent misalignment.
- Test Fit: Before driving in the screw, test fit it in the newly created countersink hole to ensure a snug fit.
Conclusion
While they may seem like simple tools, countersink drill bits are essential in achieving high-quality finishes and strong joints. By investing in quality bits and learning how to use them effectively, DIY enthusiasts and professionals alike can take their projects to the next level. So, the next time you embark on a project involving screws, remember the unsung hero of precision drilling – the countersink drill bit.

