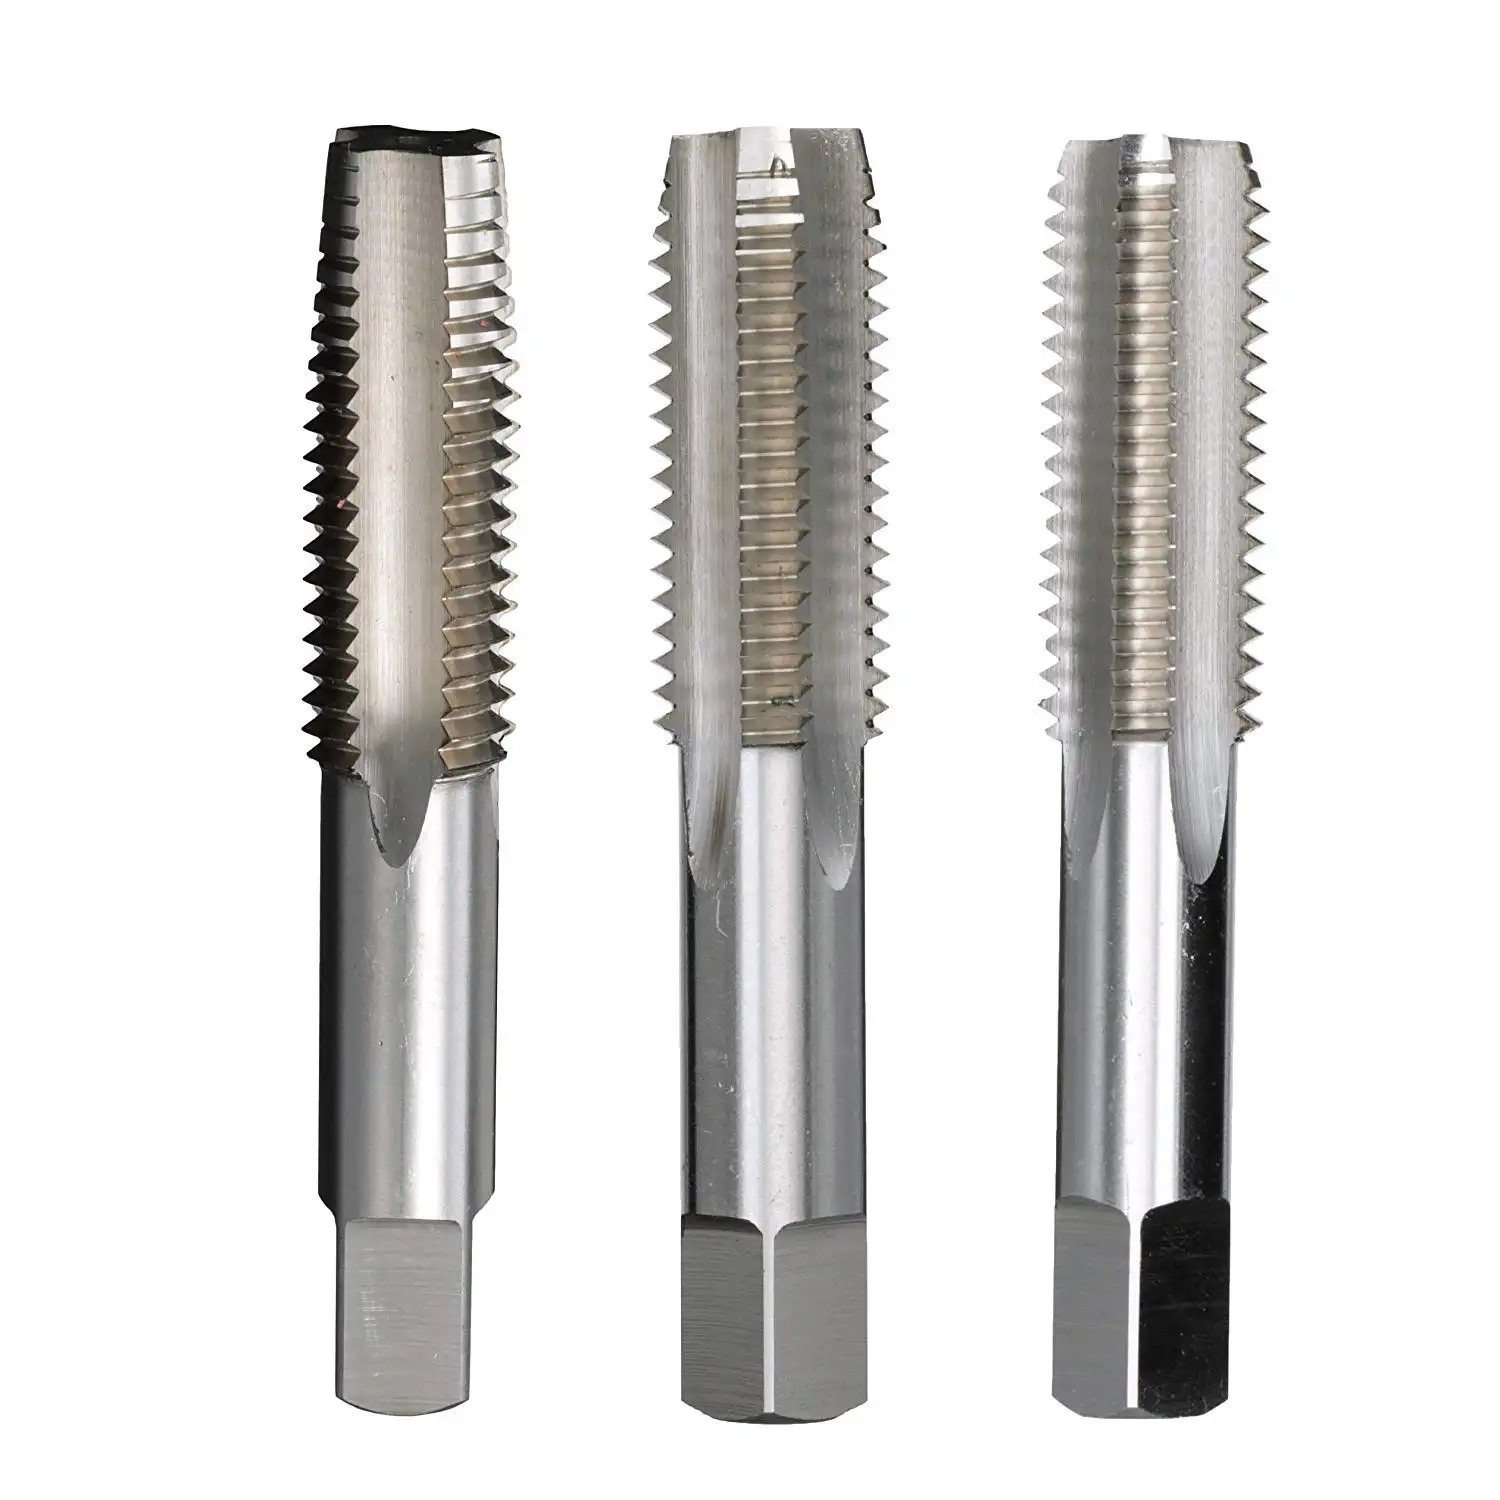
In the world of DIY projects, home repairs, and even some professional manufacturing setups, hand taps play a crucial role. But what exactly are they, and why are they so important? Let’s dive in.
What is a Hand Tap?
A hand tap is a tool used for cutting internal threads, such as those in nuts or holes in a workpiece. It has a series of cutting edges along its length, designed to remove material in a controlled manner to create the desired thread pattern. Hand taps come in various sizes and thread types, including metric and imperial, to suit different applications.
Applications of Hand Taps
- DIY Furniture Projects: When building your own wooden furniture, you might need to insert screws into pre – drilled holes. Using a hand tap to create threads in these holes ensures a more secure fit, preventing the screws from loosening over time.
- Automotive Repairs: Mechanics often use hand taps to repair or create threads in engine blocks, cylinder heads, or other metal components. For example, if a bolt hole has been stripped, a hand tap can be used to clean up the threads or create new ones.
- Jewelry Making: In the delicate world of jewelry making, hand taps are used to create fine threads in precious metals. This allows for the attachment of clasps, links, or other components with precision.
Using a Hand Tap: A Step – by – Step Guide
- Select the Right Tap: Choose a hand tap that matches the size and type of thread you need. Make sure it is in good condition, with sharp cutting edges.
- Prepare the Workpiece: Drill a hole in the workpiece that is the appropriate size for the tap. The hole should be slightly smaller than the outer diameter of the tap to ensure a proper fit.
- Lubricate the Tap: Apply a suitable lubricant to the tap. This helps to reduce friction, improve the cutting action, and extend the life of the tap. Common lubricants include cutting oil or even soap and water for some non – critical applications.
- Start Tapping: Insert the tap into the drilled hole and start turning it clockwise using a tap wrench. Apply gentle, even pressure. As you turn the tap, it will start to cut the threads into the material.
- Back – off and Clear Chips: Periodically, turn the tap counter – clockwise to break and clear the chips that are formed during the cutting process. This prevents the chips from clogging the cutting edges and causing damage to the tap or the workpiece.
- Finish Tapping: Continue turning the tap until the desired depth of the thread is achieved. Be careful not to over – tap, as this can weaken the threads or damage the workpiece.
Maintenance of Hand Taps
- Cleaning: After each use, clean the hand tap thoroughly to remove any chips, lubricant, or debris. Use a brush or a clean cloth to wipe it down.
- Inspection: Regularly inspect the tap for any signs of wear, such as dull cutting edges or broken teeth. If you notice any damage, consider sharpening or replacing the tap.
- Storage: Store your hand taps in a clean, dry place, preferably in a tap holder or a toolbox with individual compartments to prevent them from getting damaged or mixed up.
In conclusion, hand taps are versatile and essential tools for anyone involved in working with materials that require threaded connections. Whether you’re a seasoned professional or a DIY enthusiast, understanding how to use and maintain hand taps can greatly enhance the quality of your work.

